To create a new blog post in Blogger, follow these steps:
1. Sign in to Blogger
Log in to your Blogger account using your Google credentials or create a new account if you don't have one.
2. Create a new post
Click on "New Post" in the left menu and then click on the orange "New Post" button.
(On the app just click on orange button.)
3. Add a post title
Enter a title for your post in the "Post title" field.
4. Write your post
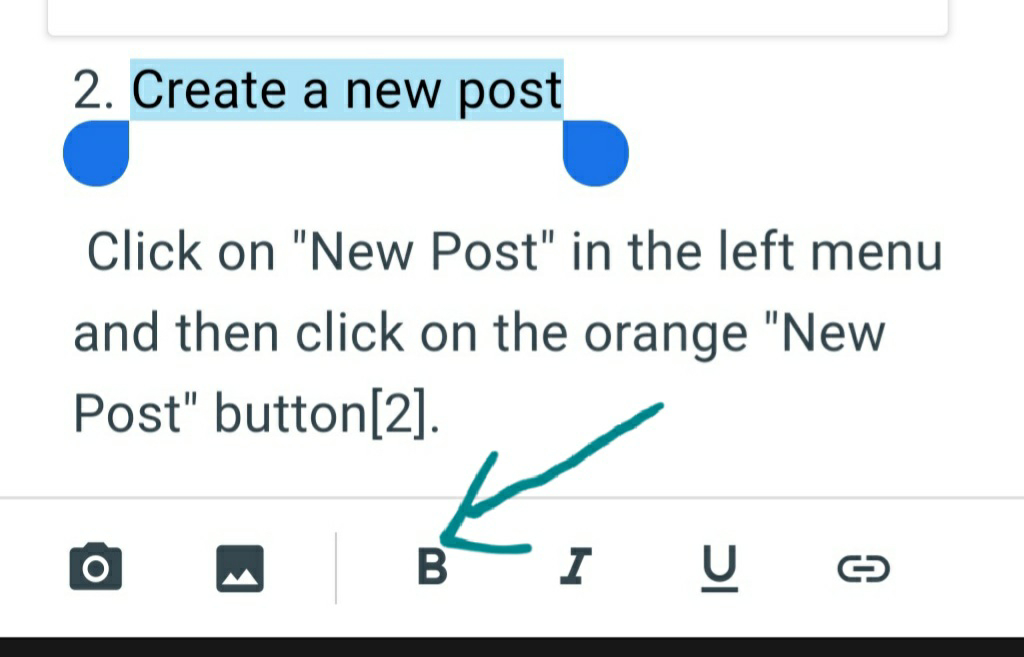
Type your blog post in Blogger's text editor, similar to a typical text editor like Word or Google Docs. You can use the toolbar at the top to edit your post's fonts, sizes, text color, and layout.
For example. Highlight text and the text editor will show up like this. I chose B for bold
5. Add images, links, and formatting
You can add images, links, make your text bold, large, or in different colors using the options available in the menu between the post title and content.
•Camera if you whant to take a picture
•Photo from gallery
•Bold text
•Italics
•Underline text
•Add link: for example page where visitors can be redirect to like a youtube video. Or affiliate shopping link or another blog link
6. Preview your post
Click the "Preview" button (optional) to see how your post will look when it's published.
7. Publish or save your post
Click "Publish" to publish your post immediately, or click "Save" to save it as a draft for later publication.
8. Add labels to your post
You can use labels to organize your posts. Your readers can use your labels to filter the content they get. To add labels to your post, sign in to Blogger, click on an existing post or click "New post," and then click "Labels" on the right. Enter a label or click an existing label. To add more than one label to a post, separate labels with commas.
Remember that you can always edit your post by clicking on the title of the post in the "Posts" tab of your Blogger dashboard.


No comments:
Post a Comment