Friday, December 1, 2023

DIY HOMEMADE CLAY FOR ART AND SCHOOL PROJECTS

There are several easy and fun DIY clay art projects you can try at home using simple ingredients. Here are three popular recipes for homemade clay:

Baking Soda, Cornstarch, and Water Clay 

   - 1 cup  baking soda
   - 1/2 cup cold water
   - 1 1/2 cups cornstarch 

   To make this clay, mix the baking soda, cold water, and cornstarch in a large pot. Stir with a wooden spoon over medium-low heat until it thickens and resembles the texture of mashed potatoes. Knead the clay until it's smooth and cools to room temperature. You can add food coloring to create different colors.

Flour and Salt Dough

   - 3/4 cup water
   - 3/4 cup salt
   - 2 cups flour

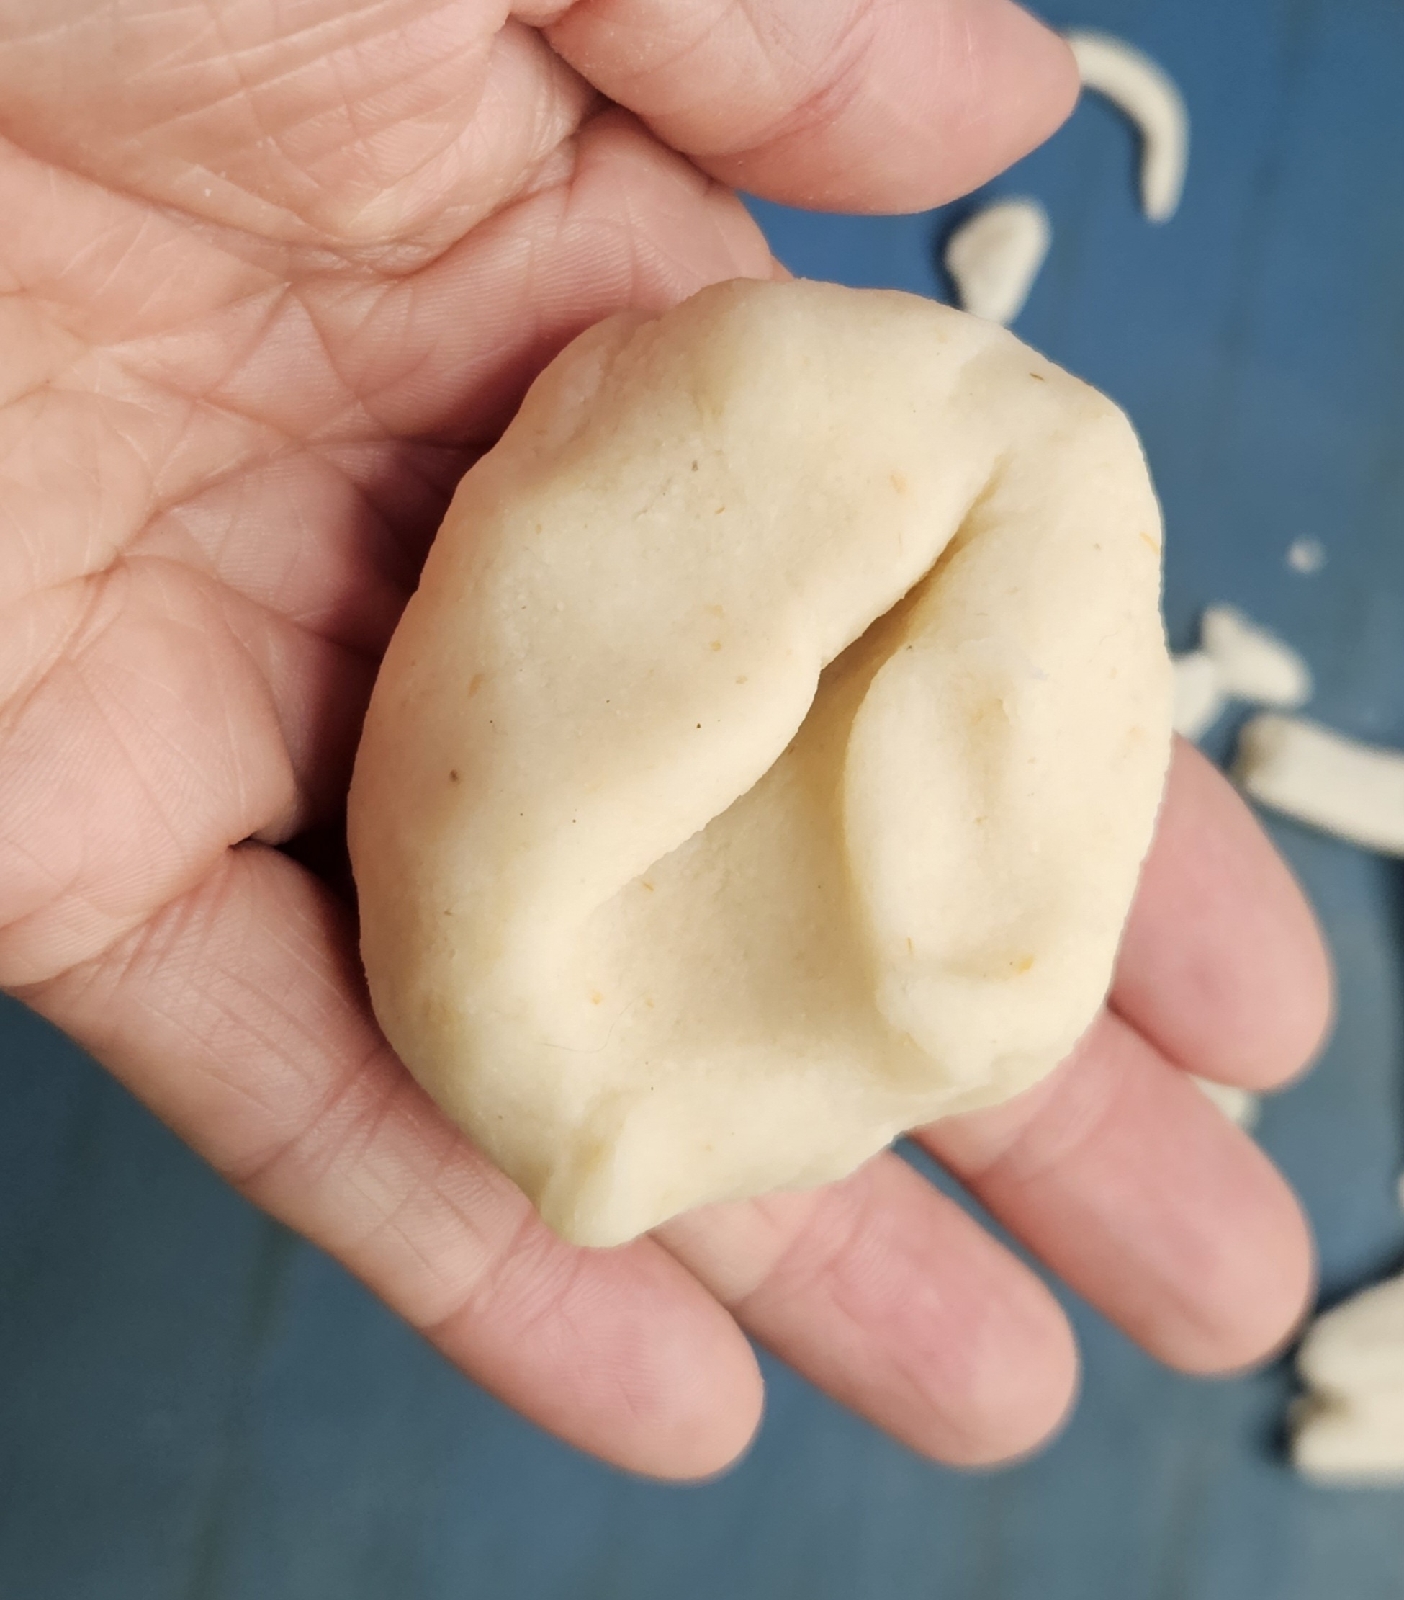
   Mix the water, salt, and flour in a bowl until it forms a dough. Knead the dough until it's smooth and firm. You can add food coloring to create different colors. This clay is self-hardening, so you can let it dry and use it for your projects.

Cornstarch and Water Clay

   - 1 cup cornstarch
   - 1 1/4 cups cold water
   - 2 cups baking soda 

(I USED 1 CUP SALT AND 1 CUP BAKING SODA PLUS TS VEGETABLE OIL)
   Mix the cornstarch and cold water in a saucepan and cook over heat for 4-5 minutes, stirring constantly. Add the baking soda and continue stirring until the mixture thickens. Remove the saucepan from heat and let the clay cool. Knead the clay until it's smooth and cools to room temperature. You can add food coloring to create different colors.

Once you have prepared the clay, you can use it for various art projects, such as sculpting, creating ornaments, or making small figurines. You can also decorate your creations with acrylic paint or other craft supplies.


DIY ARTIFICIAL MOSS

There are several ways to make artificial moss, and the materials and techniques used can vary. Here are a few methods:

Using green felt or fabric

Cut the felt or fabric into small pieces that will fit comfortably in the palm of your hand. Hot glue the pieces to thin green wire, starting at the base and working your way up. Once all of the pieces are glued on, carefully bend and twist the wire to create a realistic-looking mossy effect

Using sponge foam

Cut the sponge foam into small pieces and shape them into the desired moss shape. Paint the foam with green acrylic paint and let it dry. Once dry, use a hot glue gun to attach the foam pieces to a surface, such as a terrarium or craft project

Using yarn or fabric
Cut the yarn or fabric into small pieces, about 1-2 inches long. Dip the pieces into water, then wring them out so they're damp but not dripping wet. Arrange the pieces on a flat surface in whatever design you like, then use hot glue to attach them together. Once the glue has dried, your fake moss is ready to use

These are just a few examples, and there are many other methods and materials that can be used to make artificial moss.


HOW TO MAKE A FAIRY DOOR

To make a fairy door, you can use various materials such as popsicle sticks, twigs, and other found objects. Here are some general steps to create a fairy door:

Example

1. Popsicle Stick Fairy Door

   - Align 6 or 7 popsicle sticks vertically.
   - Measure and cut two popsicle sticks the horizontal width of the door.
   - Glue both popsicle sticks across horizontally to hold it all together.
   - Paint or stain the door.
   - Add embellishments like moss, jewelry, or a tiny thumbtack doorknob.
   - Display your door in the fairy garden or nail it to a tree
my first attempt :) 


2. Twig Fairy Door

   - Glue some twigs together to make the door and the platform.
   - Glue twigs onto larger branches to make the ladder.
   - Glue on little fancy things like flowers, jewelry, or decorative moss


3. Wooden Fairy Door

   - Use a wood file to smooth the edges of the wood.
   - Glue the two pieces of wood together

Remember to let your creativity flow and add personal touches to your fairy door with embellishments and decorations.

Monday, November 27, 2023

HOW TO MAKE A BLOG POST ON BLOGGER

To create a new blog post in Blogger, follow these steps:

1. Sign in to Blogger

 Log in to your Blogger account using your Google credentials or create a new account if you don't have one.

2. Create a new post

 Click on "New Post" in the left menu and then click on the orange "New Post" button. 
(On the app just click on orange button.)
3. Add a post title

Enter a title for your post in the "Post title" field.

4. Write your post

Type your blog post in Blogger's text editor, similar to a typical text editor like Word or Google Docs. You can use the toolbar at the top to edit your post's fonts, sizes, text color, and layout.
For example. Highlight text and the text editor will show up like this.  I chose B for bold
5. Add images, links, and formatting

 You can add images, links, make your text bold, large, or in different colors using the options available in the menu between the post title and content.
Icons from left to right is:

 •Camera if you whant to take a picture
•Photo from gallery
•Bold text
•Italics
•Underline text
•Add link: for example page where visitors can be redirect to like a youtube video. Or affiliate shopping link or another blog link 

6. Preview your post

 Click the "Preview" button (optional) to see how your post will look when it's published.

7. Publish or save your post

Click "Publish" to publish your post immediately, or click "Save" to save it as a draft for later publication.

8. Add labels to your post

You can use labels to organize your posts. Your readers can use your labels to filter the content they get. To add labels to your post, sign in to Blogger, click on an existing post or click "New post," and then click "Labels" on the right. Enter a label or click an existing label. To add more than one label to a post, separate labels with commas.

Remember that you can always edit your post by clicking on the title of the post in the "Posts" tab of your Blogger dashboard.